1918 New Orleans Public Belt, Terminal Co & Lower Coast Railroad Valuation Maps
1918 New Orleans Public Belt, Terminal Co & Lower Coast Railroad Valuation Maps
Couldn't load pickup availability
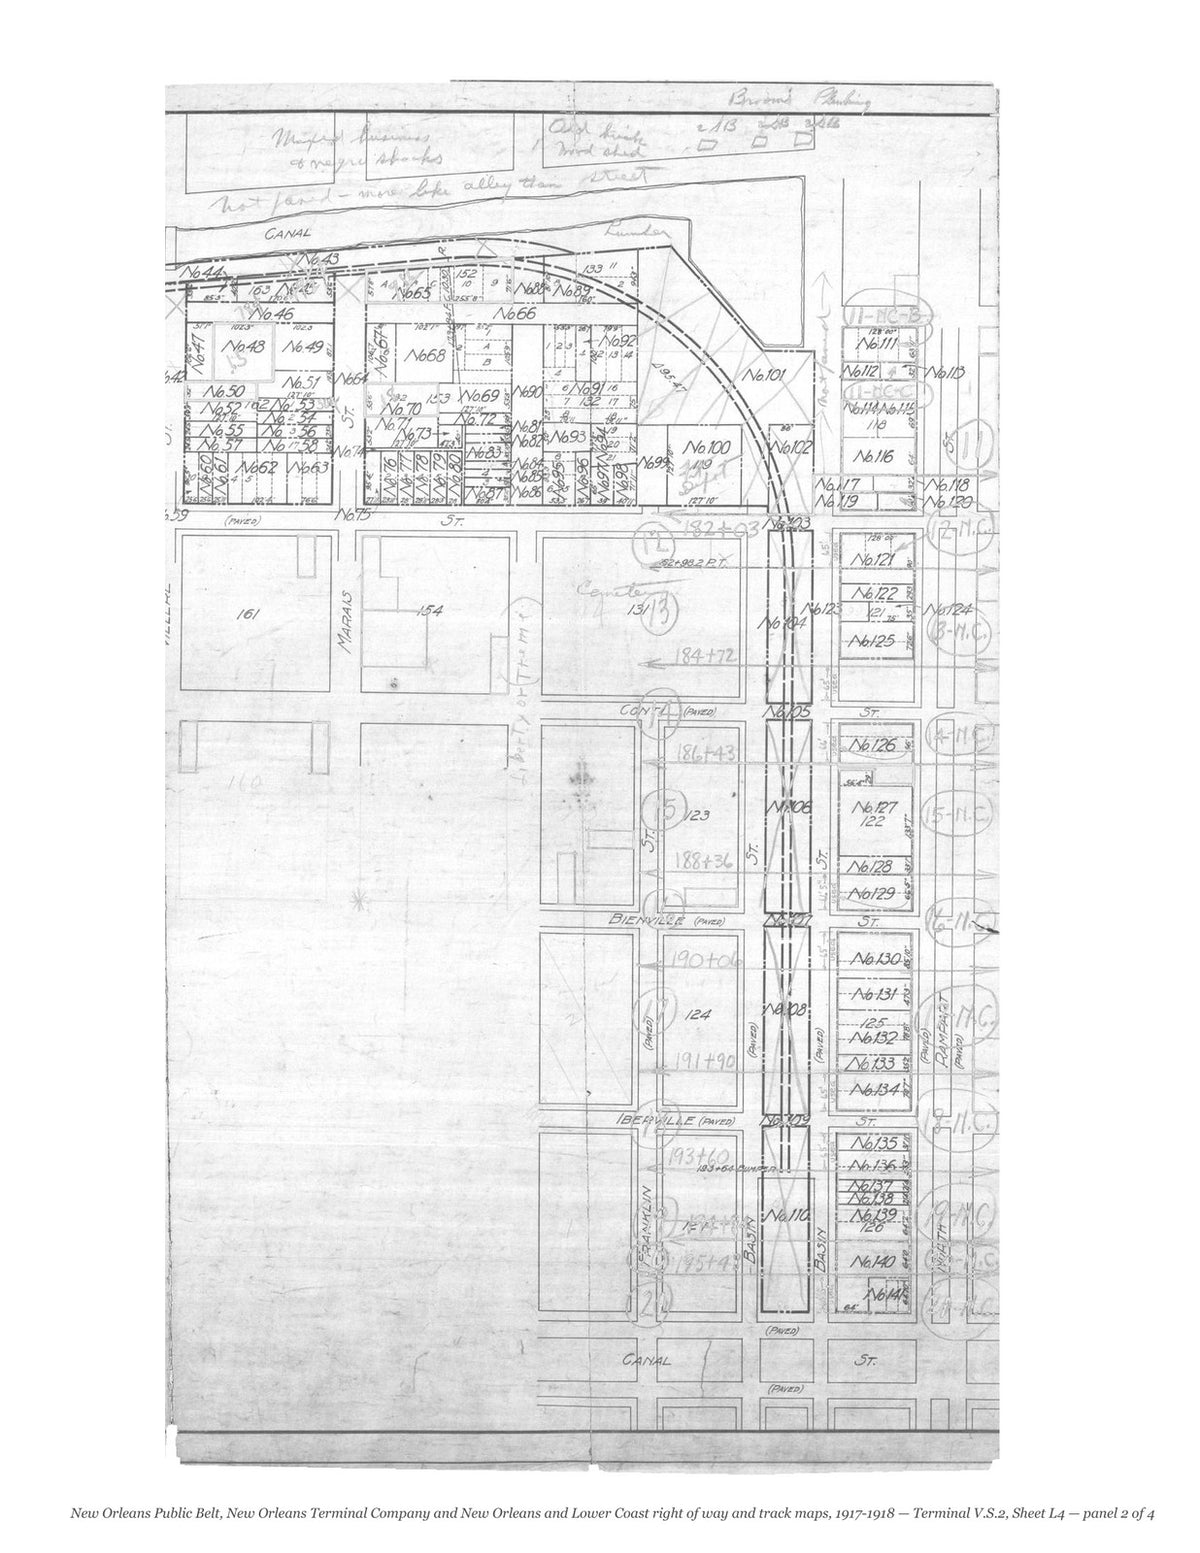
The right of way and track maps of the Public Belt Railroad, operated by the City of New Orleans, follow its line along the Mississippi River front of New Orleans, with the New Orleans Terminal Company from Shrewsbury to Port Chalmette and the New Orleans and Lower Coast Railroad down the west bank from Algiers, drawn in the engineers’ offices at New Orleans and in the office of special engineer, Southern Railway System, at Washington, and dated October 8, 1917 (Public Belt), June 30, 1917 (Terminal Company) and June 30, 1918 (Lower Coast). Fourteen Public Belt sheets run the riverfront from survey station 0 to the coal bins and outfall canal on the last sheet. The Terminal Company’s Valuation Section 1 runs from Shrewsbury in Jefferson Parish across the city to Port Chalmette in St. Bernard Parish, with its sheets 1a to 15a, a city drainage sub-map and owners’ schedules; Section 2 is its line to the Terminal Station. The Lower Coast sheets start at Algiers, by the Texas and Pacific and Southern Pacific terminals, and follow the west bank of the Mississippi down through Plaquemines Parish, with a station map of Algiers and a plan of abandoned properties around its depot and ferry pontoon. They were drawn for the federal valuation of the railroads and record every track, siding, bridge, building and right-of-way line, with the owners of the land beside the track.
Contents: Public Belt, Index map (pages 3–7); Public Belt, 1918 route map (page 8); Public Belt, Sheet 1 (pages 9–13); Public Belt, Sheet 2 (pages 14–18); Public Belt, Sheet 3 (pages 19–23); Public Belt, Sheet 4 (pages 24–28); Public Belt, Sheet 5 (pages 29–33); Public Belt, Sheet 6 (pages 34–38); Public Belt, Sheet 7 (pages 39–43); Public Belt, Sheet 8 (pages 44–48); Public Belt, Sheet 9 (pages 49–53); Public Belt, Sheet R-T 9a (pages 54–58); Public Belt, Sheet 10 (pages 59–63); Public Belt, Sheet 11 (pages 64–68); Public Belt, Sheet 12 (pages 69–73); Public Belt, Sheet 13 (pages 74–78); Terminal Co., Index map (pages 79–83); Terminal Co., 1918 route map (page 84); Terminal V.S.1, Sheet 1 (pages 85–89); Terminal V.S.1, Sheet 1a (pages 90–94); Terminal V.S.1, Sheet 1b (pages 95–99); Terminal V.S.1, Sub-map 1-a (page 100); Terminal V.S.1, Sheet 2 (pages 101–105); Terminal V.S.1, Sheet 3 (pages 106–110); Terminal V.S.1, Sheet 4 (pages 111–115); Terminal V.S.1, Sheet 5 (pages 116–120); Terminal V.S.1, Sheet 6 (pages 121–125); Terminal V.S.1, Sheet 7 (pages 126–130); Terminal V.S.1, Sheet 8 (pages 131–135); Terminal V.S.1, Sheet 9 (pages 136–140); Terminal V.S.1, Sheet 10 (pages 141–145); Terminal V.S.1, Sheet 11, 1 of 2 (pages 146–150); Terminal V.S.1, Sheet 11, 2 of 2 (pages 151–155); Terminal V.S.1, Sheet 12 (pages 156–160); Terminal V.S.1, Sheet 12a (pages 161–165); Terminal V.S.1, Sheet 12b (pages 166–170); Terminal V.S.1, Sheet 13 (pages 171–175); Terminal V.S.1, Sheet 13a (pages 176–180); Terminal V.S.1, Sheet 13a owners (page 181); Terminal V.S.1, Sheet 14 (pages 182–186); Terminal V.S.1, Sheet 14a (pages 187–191); Terminal V.S.1, Sheet 15 (pages 192–196); Terminal V.S.1, Sheet 15a (pages 197–201); Terminal V.S.1, Sheet 16 (pages 202–206); Terminal V.S.2, Sheet 1 (pages 207–211); Terminal V.S.2, Sheet 2 (pages 212–216); Terminal V.S.2, Sheet 3 (pages 217–221); Terminal V.S.2, Sheet 4 (pages 222–226); Terminal V.S.2, owners, 1 of 6 (pages 227–229); Terminal V.S.2, owners, 2 of 6 (pages 230–232); Terminal V.S.2, owners, 3 of 6 (pages 233–235); Terminal V.S.2, owners, 4 of 6 (pages 236–238); Terminal V.S.2, owners, 5 of 6 (pages 239–241); Terminal V.S.2, owners, 6 of 6 (pages 242–244); Terminal V.S.2, Sheet L1 (pages 245–249); Terminal V.S.2, Sheet L2 (pages 250–254); Terminal V.S.2, Sheet L3 (pages 255–259); Terminal V.S.2, Sheet L4 (pages 260–264); Lower Coast, Index map (pages 265–269); Lower Coast, Sheet 1, 1 of 2 (pages 270–274); Lower Coast, Sheet 1, 2 of 2 (pages 275–279); Lower Coast, Station map S-1 (pages 280–284); Lower Coast, Sheet 2, 1 of 2 (pages 285–289); Lower Coast, Sheet 2, 2 of 2 (pages 290–294); Lower Coast, Sheet 3, 1 of 2 (pages 295–299); Lower Coast, Sheet 3, 2 of 2 (pages 300–304); Lower Coast, Sheet 4, 1 of 2 (pages 305–309); Lower Coast, Sheet 4, 2 of 2 (pages 310–314); Lower Coast, Sheet 5, 1 of 2 (pages 315–319); Lower Coast, Sheet 5, 2 of 2 (pages 320–324); Lower Coast, Sheet 6, 1 of 2 (pages 325–329); Lower Coast, Sheet 6, 2 of 2 (pages 330–334); Lower Coast, Sheet 7, 1 of 2 (pages 335–339); Lower Coast, Sheet 7, 2 of 2 (pages 340–344); Lower Coast, Sheet 8, 1 of 2 (pages 345–349); Lower Coast, Sheet 8, 2 of 2 (pages 350–354); Lower Coast, Sheet 9, 1 of 2 (pages 355–359); Lower Coast, Sheet 9, 2 of 2 (pages 360–364); Lower Coast, Sheet 10, 1 of 2 (pages 365–369); Lower Coast, Sheet 10, 2 of 2 (pages 370–374); Lower Coast, Sheet 11, 1 of 2 (pages 375–379); Lower Coast, Sheet 11, 2 of 2 (pages 380–384); Lower Coast, Sheet 12, 1 of 2 (pages 385–389); Lower Coast, Sheet 12, 2 of 2 (pages 390–394); Lower Coast, Sheet 13, 1 of 2 (pages 395–399); Lower Coast, Sheet 13, 2 of 2 (pages 400–404); Lower Coast, Sheet 14, 1 of 2 (pages 405–409); Lower Coast, Sheet 14, 2 of 2 (pages 410–414); Lower Coast, Sheet 15, 1 of 2 (pages 415–419); Lower Coast, Sheet 15, 2 of 2 (pages 420–424); Lower Coast, abandoned property (pages 425–427).
Each sheet is shown whole and then one folded panel to a page, so that the survey stations, track notes, structures and land boundaries can be read.
This facsimile reproduces all ninety-one scans.
428 pages. 8.5" x 11". Black and white on cream paper. Paperback. Each sheet is shown whole, turned sideways, and then one folded panel of the original sheet to a page, printed upright at about two-fifths of its original size.
Printed to order and shipped directly to you — please allow up to 7 business days before shipment.
Satisfaction guaranteed or you can send it back!